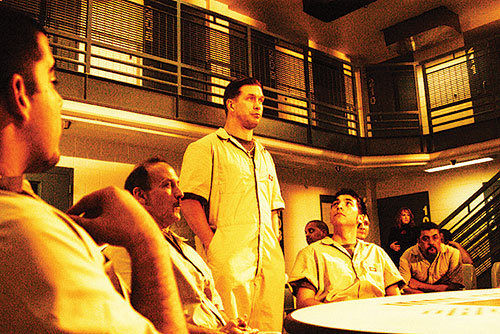
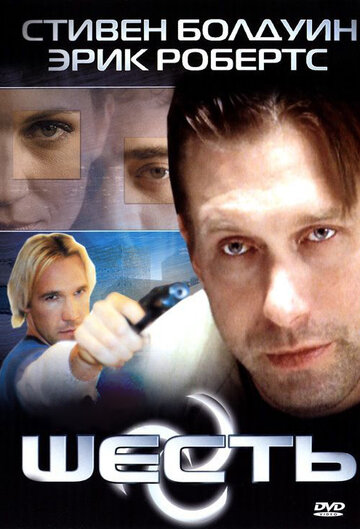
Six: The Mark Unleashed
| Year | 2004 |
|---|---|
| Country | USA |
| Director | Kevin Downes |
| Cinematography | Philip Hurn |
| Scriptwriters | Kevin DownesChipper LowellDavid A.R. White |
| Produced | Bobby DownesKevin DownesCosimo Michael Occhipinti |
| Music | Marc FantiniSteffan Fantini |
| Art Direction | Laird PulverNiko Vilaivongs |
| Editing | Jeffrey Lee Hollis |
| Genres | FictionActionThrillerDrama |
| Release Date | May 6, 2004 |
| Runtime | 104 min. |